
The Essential Guide to Preparation in Painting: Sealing, Patching, and Priming
- Admin
- Dec 5, 2025
- 3 min read
Updated: May 12
Painting preparation sets the foundation for a flawless finish. Skipping or rushing through sealing, patching, and priming can lead to peeling paint, uneven surfaces, and costly repairs down the line. Whether you are a builder, developer, homeowner, or DIY enthusiast, understanding these steps will save you time and money while improving the durability and appearance of your paint job.

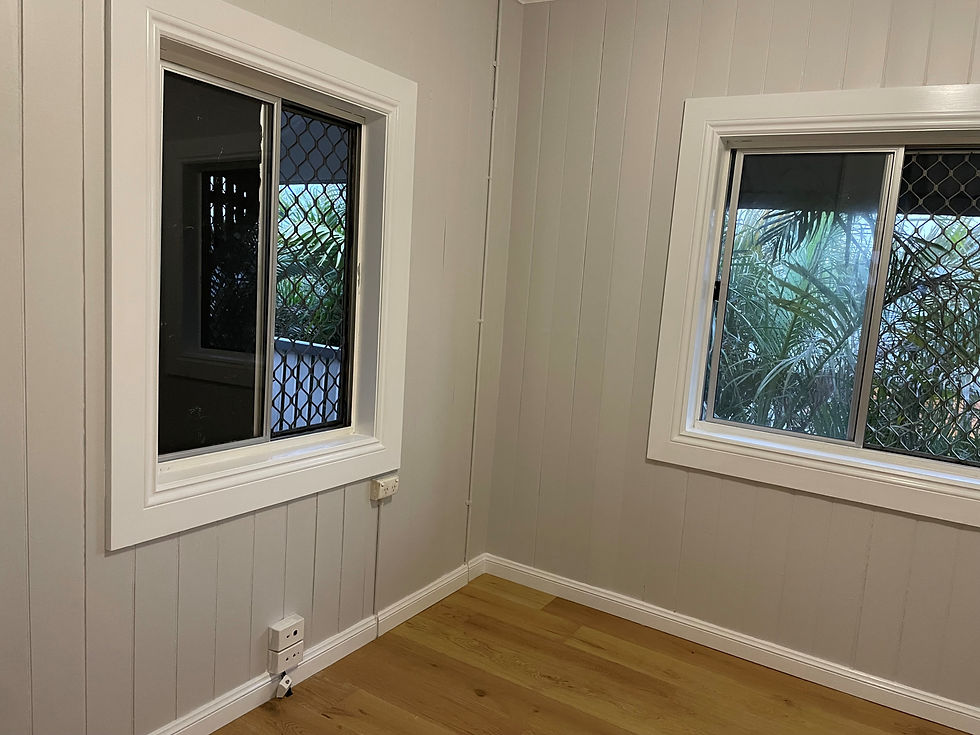
Patching cracks and holes ensures a smooth surface before painting.
1. Why Painting Preparation Matters: Sealing, Patching and Priming for Long-Lasting Results
Painting preparation is more than just a preliminary step; it determines how well your paint adheres and how long it lasts. Surfaces exposed to moisture, dirt, or damage will cause paint to fail prematurely. Proper sealing, patching, and priming create a stable base that protects the surface and enhances paint adhesion.
Skipping these steps often leads to:
Peeling or bubbling paint
Visible cracks and imperfections
Uneven colour and texture
Reduced lifespan of the paint job
Investing time in preparation means fewer touch-ups and repainting in the future.
2. Sealing: Protecting Surfaces from Moisture and Stains
Sealing is the first step in painting preparation, especially for porous or previously stained surfaces. It blocks moisture, prevents stains from bleeding through, and creates a uniform surface for paint.
When to Seal
New drywall or plaster
Wood surfaces prone to tannin bleed
Water-stained walls or ceilings
Surfaces exposed to humidity, like bathrooms or kitchens
How to Seal Properly
Clean the surface thoroughly to remove dust and grease
Use a high-quality sealant or primer-sealer product
Apply evenly with a brush or roller
Allow sufficient drying time as per manufacturer instructions
Sealing prevents common problems like mould growth and discoloration, which can ruin your paint finish.
3. Patching: Fixing Imperfections for a Smooth Finish
Patching fills holes, cracks, dents, and other surface damage. Without patching, these imperfections will show through the paint, making the surface look unprofessional.
Tools and Materials for Patching
Gyprock patching compound
Putty knife or trowel
Sandpaper (medium and fine grit)
Clean cloth
Step-by-Step Patching Process
Remove loose debris from the damaged area
Apply Gyprock patching compound with a putty knife, pressing firmly to fill gaps
Smooth the surface and feather edges to blend with surrounding wall
Let the patch dry completely (usually a few hours)
Sand the patched area until smooth and flush with the wall
Wipe away dust before priming or painting
For larger holes or deep cracks, multiple layers of patching compound may be necessary.
4. Priming: Preparing the Surface for Paint Adhesion
Priming seals the patched and sealed surface, providing a consistent base for paint. It improves paint adhesion, enhances colour vibrancy, and increases durability.
Why Priming Is Essential
Prevents paint from soaking unevenly into porous surfaces
Blocks stains and previous colours from showing through
Helps paint stick better, reducing peeling and chipping
Creates a uniform surface for smooth application
Choosing the Right Primer
Use latex primer for drywall and wood like a Dulux precision primer
Dulux oil-based primer works well on metal, glossy surfaces, or knots in wood
Dulux stain-blocking primers are ideal for water stains or smoke damage
Application Tips
Apply primer evenly with a brush or roller
Avoid thick coats that can drip or take longer to dry
Allow primer to dry fully before painting (check product instructions)
Priming is a critical step that many overlook, but it makes a noticeable difference in the final result.

Applying primer ensures paint adheres evenly and lasts longer.
5. Common Mistakes to Avoid in Painting Preparation
Even experienced painters can make errors that undermine their work. Watch out for these pitfalls:
Skipping patching: Leaving holes or cracks unfilled leads to visible flaws.
Not cleaning surfaces: Dirt and grease prevent sealants and primers from sticking.
Using the wrong primer: Mismatched primers can cause peeling or uneven colour.
Applying paint too soon: Paint over wet primer or sealant will not adhere properly.
Ignoring moisture issues: Painting over damp surfaces causes bubbling and mould growth.
Taking time to do each step carefully prevents these problems and improves your painting outcome.
6. Practical Tips for Successful Painting Preparation
Inspect surfaces thoroughly before starting
Use quality materials suited for your specific surface and conditions
Work in a well-ventilated area with appropriate safety gear
Follow drying times exactly for sealants, patching compounds, and primers
Sand patched areas smoothly for a professional finish
Test a small area first if unsure about primer or paint compatibility
By following these tips, you ensure your painting preparation is solid and your final coat looks flawless.


Comments