
How to Achieve a Seamless, Long-Lasting Paint Finish on Any SEQ Home
A coating system fails long before the topcoat fades if the substrate underneath is improperly prepared. In South East Queensland, that risk is driven by intense climate pressures: extreme UV exposure, humid summers, coastal salt, wind-driven storm rain and dark exterior surface temperatures that can reach 70°C.
Whether your home features timber weatherboards, architectural steel, internal plasterboard or rendered masonry, a long-lasting finish requires matching the correct preparation, primers and coating systems to each specific material.

1. Timber Cladding & Weatherboards: Managing Moisture & Movement
Timber is one of the most demanding exterior substrates in SEQ. It constantly absorbs and releases atmospheric moisture, expanding and contracting throughout the day.
Common timber painting failure points include:
Tannin Bleeding: Natural oils in woods like Western Red Cedar or Spotted Gum bleeding through water-based topcoats.
Grain Checking & Cracking: Sunlight breaking down bare timber fibers before painting, leading to loss of adhesion.
Joint Separation: Rigid fillers popping out of weatherboard overlaps due to natural wood movement.
The Correct Approach: Unpainted or weathered timber must be sanded back to sound wood fibers. High-tannin timbers require a dedicated oil-based or stain-blocking acrylic primer before applying topcoats. For exterior timber cladding, flexible acrylic paints like Dulux Weathershield or Haymes Solashield expand with wood movement without cracking or splitting.
2. Interior Plasterboard: Overcoming Glancing Light & Uneven Suction
Modern interior architecture relies on large open-plan spaces, raked ceilings and floor-to-ceiling windows. While these design elements bring in natural light, they also create "glancing light" that exposes every imperfection in interior paintwork.
Key interior preparation steps:
Addressing Suction Differential: Raw plasterboard paper and jointing compound absorb paint at different rates. Without an even sealer/undercoat, topcoats dry with uneven sheen levels (banding).
Surface Flattening: Patching screw pops, sanding joints smooth and skim-coating broad walls where light falls parallel to the surface.
Applying premium flat or matte acrylics, such as Haymes Premium Interior's helps diffuse light and reduce reflection across broad walls, ensuring a uniform, streak-free appearance.

3. Architectural Metals & Trims: Stopping Corrosion & Peeling
Window frames, steel posts, balustrades and fascia boards face aggressive weathering, particularly in coastal zones along the Gold Coast and Sunshine Coast.
Ferrous Metals (Steel/Iron): Require complete rust removal, chemical conversion and an anti-corrosive primer before topcoating.
Non-Ferrous Metals (Aluminium/Galvanised Steel): Factory coatings and smooth zinc surfaces lack mechanical keying. Painting directly over unprimed galvanised metal leads to flaking.
High-Traffic Trims: Internal doors and architraves require hard-wearing water-based or traditional enamels that resist hand oils and impact damage.
Etch primers or specialized tie-coats must be specified to chemically bond the paint film to metal surfaces, protecting against salt air breakdown.
4. Masonry & Brickwork: Ensuring Breathability
Coating exposed brick or concrete blocks requires managing moisture vapor movement. Painting over damp masonry traps water inside the wall, leading to efflorescence (white salt deposits pushing through the paint film) and blistering.
Prior to coating masonry:
Moisture readings must confirm the surface is dry.
Efflorescence must be treated chemically and neutralised.
Alkaline-resistant masonry primers must be applied to prevent saponification (the chemical breakdown of oil-based paints caused by concrete alkalis).
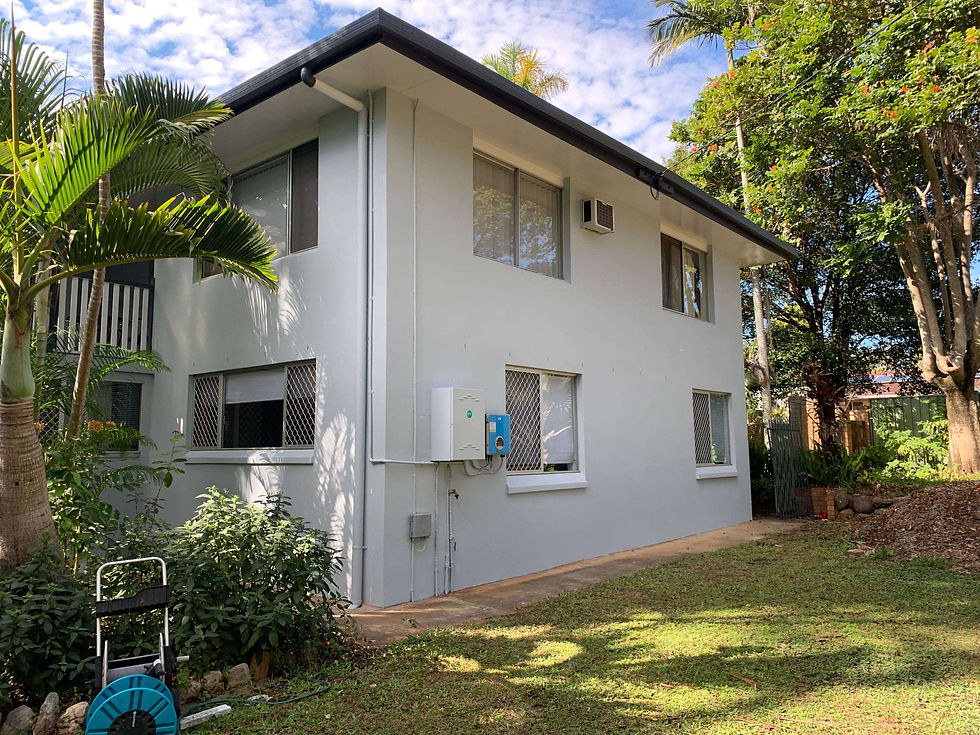
Matching Paint Systems to Substrates
Surface or area | Primary Environmental Challenge | Preparation & Coating System |
Timber Weatherboards | Tannin bleed, UV breakdown, timber movement | Sand to sound wood, apply stain-blocking primer, finish with 100% flexible exterior acrylic. |
Interior Plasterboard | Glancing light, uneven surface absorption | Broad-wall sealer/undercoat, spot-patch sanding, application of low-sheen or matte acrylic. |
Metal Trims & Posts | Salt air corrosion, surface oxidation | Mechanical wire brush/sanding, etch or anti-corrosive primer, durable enamel topcoat. |
Brickwork & Masonry | Moisture trap, efflorescence, high alkali | Neutralize salts, apply alkaline-resistant binder/sealer, coat with breathable masonry paint. |
Rendered Surfaces | Thermal cracking, surface chalking | Repair drummy sections, seal porous render, apply high-build protective membrane. |
What a Professional "Prep-First" Sequence Looks Like
A durable paint job across any material follows a strict, non-negotiable process:
Substrate Assessment: Testing for moisture content, sound adhesion, surface contamination and chalking.
Mechanical Preparation: Pressure washing exteriors, deep sanding interior walls, removing loose scale and filling structural gaps with flexible compounds.
Specific Priming: Applying a primer formulated specifically for that material's porosity and chemical properties.
Correct Film Thickness: Applying topcoats to the exact manufacturer coverage specifications to ensure full film build and durability.
Quality Inspection: Checking interior broad walls under natural lighting and verifying film coverage across all exterior edges.
Q: Can you paint over previously stained exterior timber? A: Yes, but the surface must be thoroughly cleaned, sanded to remove loose clear coats, and sealed with a stain-blocking primer before applying solid exterior paint.
Q: Why does paint chip off metal window frames? A: Paint chips off smooth metal surfaces when an etch primer is omitted during prep. Metal lacks the natural suction of timber or plaster, so it relies on chemical bonding.
Q: What type of paint is best for hiding uneven walls? A: Flat or matte finishes absorb light rather than reflecting it, making surface variations, minor plaster patches, and broad-wall joints far less noticeable.
If you are planning an interior or exterior painting project across SEQ and want to ensure your coatings bond permanently to timber, plaster, metal, or masonry, JT Industries & Co.
can perform a site substrate inspection and provide a written Scope of Works detailing the exact surface preparation, primers, and paint systems required for your home.


Comments